10 Tips for Choosing the Right Wired Push Button?
Choosing the right Wired Push Button is rarely as simple as matching a color or shape. A switch mounted on a dusty machine faces different demands from one installed inside a clean control panel. Voltage, current, contact configuration, mounting space, and operating frequency all affect performance. A small mistake can cause unreliable switching, premature wear, or difficult maintenance.
This guide presents 10 practical tips for making a safer, more informed choice. It considers tactile feedback, momentary or maintained action, terminal design, environmental protection, and material quality. For example, an IP-rated button may suit a damp workshop, while a standard indoor model may be enough for a dry office panel. Always check the manufacturer’s electrical ratings instead of relying on appearance. Datasheets matter.
Real-world installation details also deserve attention. Measure the panel hole before ordering. Confirm whether the wiring uses screw terminals, solder lugs, or quick-connect tabs. Leave enough rear clearance for bending cables without stressing them. I have seen neat front-panel installations fail because the wires were cramped behind the switch. That detail is easy to overlook.
A checklist helps, but it cannot replace judgment. Some product descriptions remain vague. Ask for test information, compatible accessories, and clear warranty terms when specifications seem incomplete. The best choice balances reliability, user comfort, service access, and total cost. Not merely the lowest price. These tips will help readers compare options carefully and select a Wired Push Button that performs consistently in its intended environment.
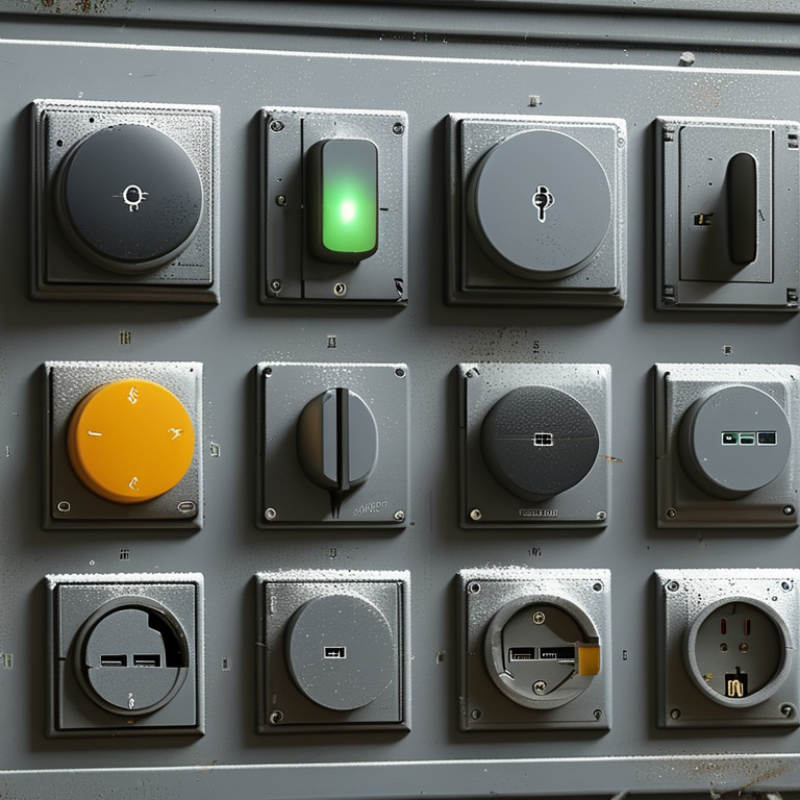
Define the Application and Required Button Functions
Choosing a wired push button starts with the application, not the panel cutout. Identify the machine’s function, control voltage, switching current, and operating frequency. A start command usually needs momentary action, while a reset or mode selector may require maintained action. The contact arrangement also matters. Normally open contacts send a command, while normally closed contacts can support fault monitoring. Keep them distinct.
Industrial conditions change the decision. A dusty workshop, washdown area, and indoor control cabinet need different enclosure protection. Specify the expected IP rating, temperature range, vibration level, and cable entry method. The U.S. Department of Energy reports that motor-driven equipment represents about 69% of industrial electricity consumption in its Improving Motor and Drive System Performance sourcebook. That figure shows why a small button may control a high-impact load. Verify the contact rating against the actual motor circuit, not only the control circuit.
Button functions should match operator behavior. A large colored actuator may improve recognition, but color alone should not carry the safety message. The Bureau of Labor Statistics recorded approximately 2.6 million nonfatal workplace injuries and illnesses in private industry during 2023. Clear labeling and deliberate reset functions therefore deserve attention. IEC 60204-1 and IEC 60947-5-1 provide useful guidance for machine controls and switching devices. Still, standards do not replace a site assessment. A specification can look complete and remain wrong in practice. Test the button with gloves, poor lighting, and realistic cable routing.
Check Electrical Ratings, Contact Configuration, and Circuit Compatibility
Choosing the right wired push button starts with its electrical ratings, not its appearance. Check rated voltage, current, and switching load on the datasheet. A button marked 250 V may not safely switch every 250 V circuit. Inductive loads, such as small motors, create extra electrical stress. Confirm whether the rating applies to AC, DC, or both. DC often needs greater caution because arcs last longer. Leave a sensible margin below maximum values. Matching numbers exactly is tempting, but that choice can age poorly.
Contact configuration determines what the button actually does. Normally open contacts close when pressed. Normally closed contacts open instead. Changeover contacts can select between two paths. Read the terminal diagram carefully. A multimeter in continuity mode can verify the contact state before wiring. I once trusted a similar-looking symbol and tested the circuit twice. That delay was avoidable. Also check whether the contacts are momentary or maintained. Momentary action returns after release, while maintained action stays latched.
Circuit compatibility includes more than voltage. Confirm current capacity, wire size, connector method, and control-system input requirements. Low-voltage inputs may need a clean signal, while relay coils can draw a brief surge. Check insulation, ingress protection, and operating temperature for the installation site. Dusty workshop. Wet enclosure. Different demands. Use a qualified technician when the circuit carries hazardous energy. Record the tested configuration, because memory becomes unreliable after modifications. Recheck polarity and terminal spacing before energizing. Small errors matter.
Choose the Appropriate Button Size, Actuation Style, and Feedback
10 Tips for Choosing the Right Wired Push Button
Choose the Appropriate Button Size, Actuation Style, and Feedback
Tip 1: Measure the available panel space before selecting a button. A large button suits gloved hands, while a compact button fits crowded control panels. Tip 2: Check the mounting hole diameter carefully. A small mismatch creates loose movement or difficult installation. Tip 3: Consider finger travel. Short-travel buttons respond quickly, but longer travel can prevent accidental presses. Tip 4: Match the actuation force to the operator. Heavy force may reduce mistakes, yet it can cause fatigue during repeated use.
Tip 5: Choose a momentary action when the circuit should operate only while pressed. Tip 6: Select maintained action when the button must stay in its new state. Tip 7: Examine the feedback. A clear click, visible indicator, or tactile change confirms activation without demanding constant visual attention. Tip 8: Test feedback with gloves, background noise, and limited lighting. Real conditions often expose weaknesses that a workbench test misses. I once underestimated this detail during a control-panel evaluation.
Tip 9: Confirm the button’s contact arrangement and electrical rating with the equipment requirements. Never rely on appearance alone. Tip 10: Inspect the wire length, insulation, and terminal security before installation. Strain relief matters near doors, moving covers, and vibrating machinery. A practical trial unit helps. Test repeated presses, side pressure, and cleaning procedures before approving the final design. Specifications provide authority, but hands-on testing reveals the uncomfortable gaps.
10 Tips for Choosing the Right Wired Push Button
Choose the Appropriate Button Size, Actuation Style, and Feedback
The chart shows common nominal panel cutout diameters used for wired push buttons. Smaller 16–19 mm buttons suit compact control panels, while 22–25 mm sizes provide a balanced combination of visibility, operating space, and mounting flexibility. Larger 30 mm buttons are often selected where high visibility or operation with gloves is important. Before installation, verify the actual mounting diameter, actuator travel, contact rating, environmental protection, wiring method, feedback type, operating temperature, mechanical life, and applicable safety requirements in the product datasheet.
Evaluate Materials, Mounting Options, and Environmental Protection
10 Tips for Choosing the Right Wired Push Button
Material selection should match the actual worksite, not the product photograph. Metal housings suit repeated impact, while engineering plastics reduce weight and corrosion risk. Check the actuator material, cable jacket, terminals, and gasket separately. A strong button can still fail through a weak cable entry. In field testing, gloves, oily fingers, and cold temperatures often reveal problems missed on a workbench. Keep the action clear. Avoid excessive force. Also inspect published mechanical-life data, but treat laboratory cycles cautiously.
Mounting options affect reliability more than many buyers expect. Panel mounting needs a firm cutout, locking nut, and enough rear clearance for cable bending. Surface mounting is easier to service, but exposed fasteners can loosen under vibration. IEC 60529 defines IP ratings through dust and water testing; IP65 means dust-tight protection and resistance to water jets, not permanent immersion. NEMA 250 also evaluates enclosure protection, but its classifications do not directly equal IP codes. That distinction is easy to overlook.
Environmental protection should reflect cleaning routines, temperature swings, chemicals, and impact. A food-processing area may need smooth surfaces and sealed cable glands. Outdoor equipment may require UV-resistant materials and drainage. Review the manufacturer’s test conditions, not only the rating label. The U.S. Bureau of Labor Statistics recorded 846 fatal workplace falls in 2022, showing why controls must remain reachable without unsafe body positions. One choice I would reconsider: selecting the highest IP rating automatically. Sealing can increase cost, heat retention, and maintenance difficulty. Practical fit matters.
Compare Reliability, Safety Standards, Cost, and Long-Term Maintenance
10 Tips for Choosing the Right Wired Push Button
Reliability starts with the button’s operating environment. Check its rated voltage, current, mechanical life, and contact configuration. Match the enclosure rating to dust, water, oil, and temperature exposure. In control panels, I inspect cable glands and terminal tightness before testing the switch. Small wiring faults can defeat a strong component. Choose clear tactile feedback for operators wearing gloves. Test repeated presses under realistic loads, not only on a clean workbench. I once underestimated vibration, and a loose connection appeared after several weeks.
Safety standards deserve careful attention. Select products tested against recognized electrical and mechanical requirements for your region. Confirm insulation, grounding, emergency-stop suitability, and protection against accidental activation. A colored cap is not a safety function by itself. Review the manufacturer’s test reports, installation instructions, and declared ratings. If documentation feels vague, treat that as a warning. Ask whether the wiring method matches your equipment’s protection design.
Cost includes installation, downtime, replacement parts, and inspection labor. A cheaper button may need frequent contact cleaning or earlier replacement. Compare the total cost across its expected service life. Check whether contacts, covers, labels, and cables can be replaced separately. Keep spare units only when storage conditions will not damage them. Schedule inspections based on usage, not convenience. I would also record failures, though many teams forget this simple step. That record can reveal patterns that initial testing misses.